Cloudflare - Pages
In this guide, we are going to go over the Cloudflare pages function, to allow the serving of static pages to internet. This is the method that this site is served upon.
Why use Cloudflare Pages?
Cloudflare Pages is nothing new in concept. Its fairly similar in many ways to GitHub Pages, however the difference is that Cloudflare make this very easy to do, with minimal knowledge due to their deep integration with their own Zero Trust Platform, DNS/Domains & Analytics.
Best of all, for most deployments, this is free to do too.

Pre-Reqs
- Cloudflare Account
- GitHub account & Repo
- Registered domain name - ideally using Cloudflare's nameservers, to make this easier.
- Static website files deployed into your GitHub Repo, such as Docusaurus
When creating your repo, you don't need to have it as a 'public' repo, you can keep it private.
Step 1 - Link your GitHub repo to Cloudflare Pages
Login to your Cloudflare Dashboard, and select 'pages' on the left hand navigation menu.

Next, click Create a project, and select Connect to Git in the dropdown menu.

Next, login to your GitHub account when prompted, and select the repo you will be using to store your static pages.
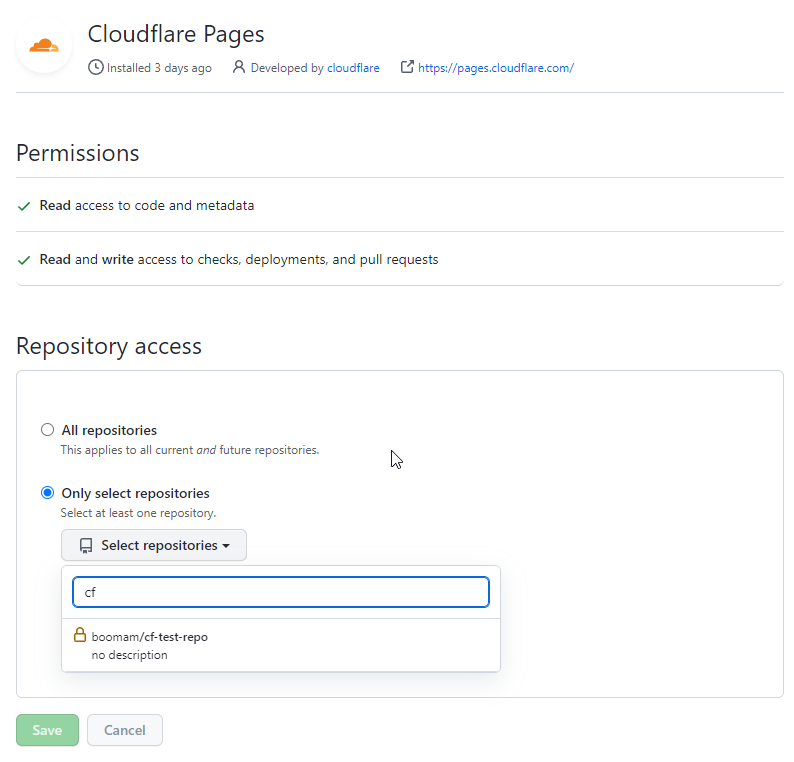
Press Save, you will now be redirected back to your Cloudflare Dashboard.
From here, select the repo you added, then click Begin Setup in the bottom right.


Step 2 - Setup & configure the build process
This screen is where we configure the build itself.
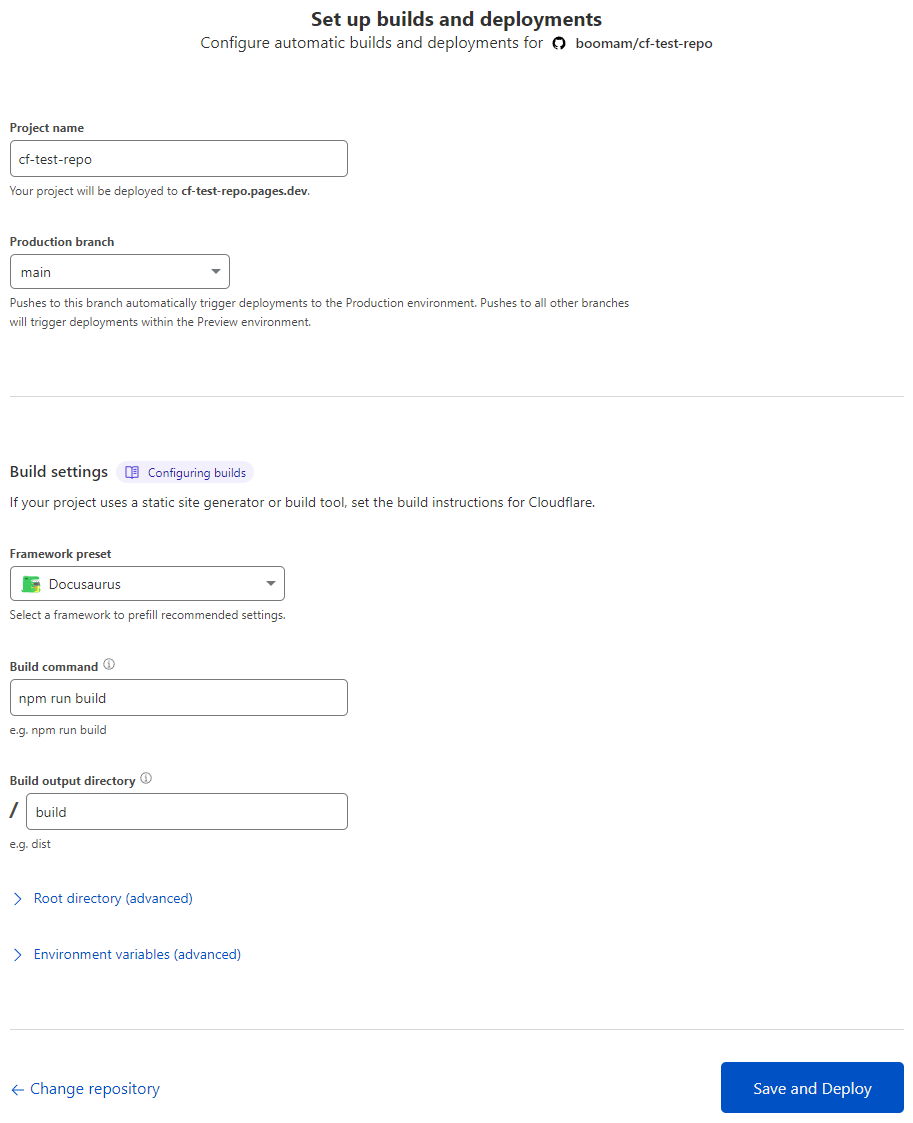
We need to give the project a name - i would recommend the name of your website, to make it easier to reference for yourself.
Then we need to set the Framework preset.
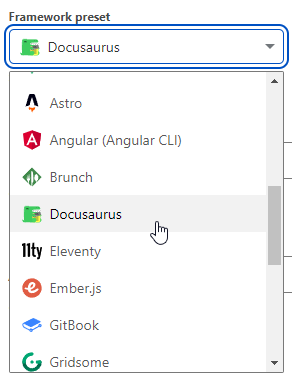
This is what will preset the build command. In our example here, we will be using Docusaurus.
For the most part we can leave the other options at default, however if you want to use sub-directories, change where the build is output too, etc, you can. You can also change these after the fact in the sites settings.
Click Save and Deploy to continue.
After a few seconds, you should see the initial deployment begin -
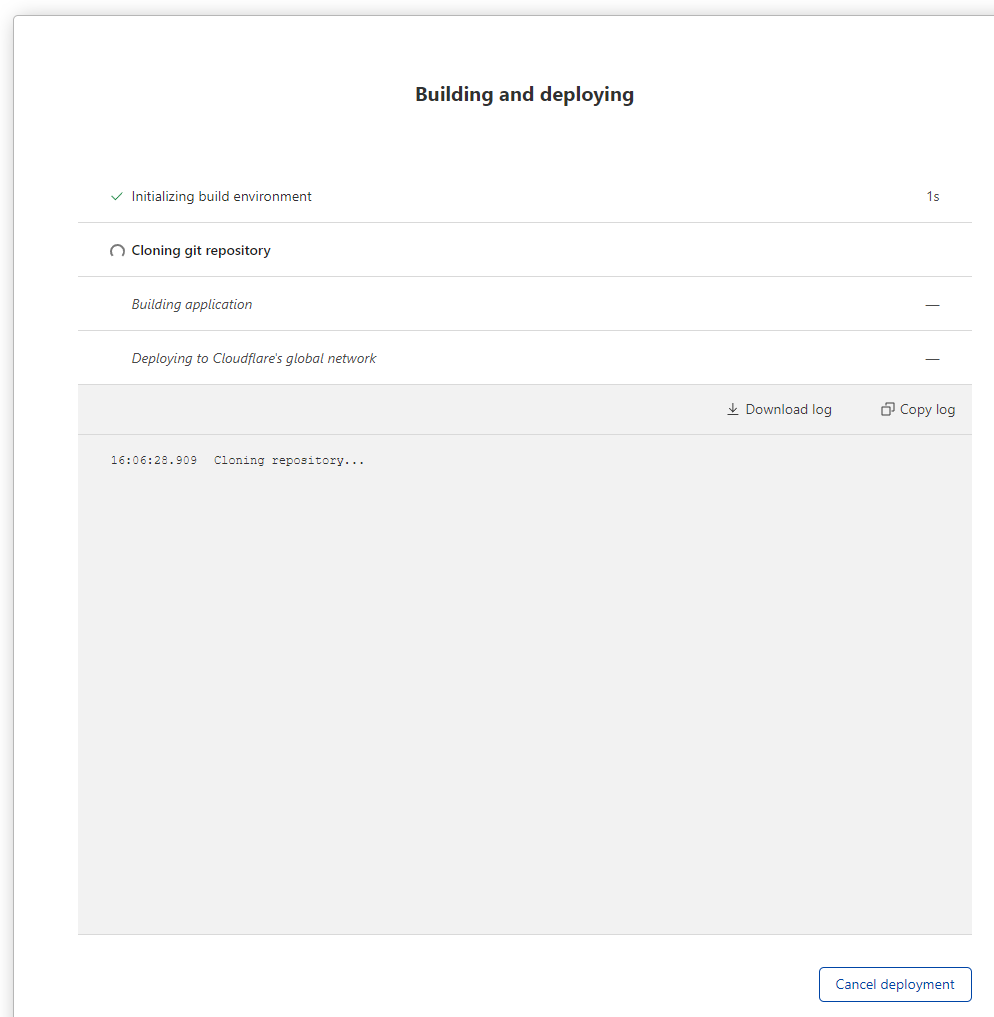
A few mins later, you should see the deployment begin, and if using Docusaurus, fail...this is expected.

Step 3 - Correct Node.js versioning (Docusaurus fix)
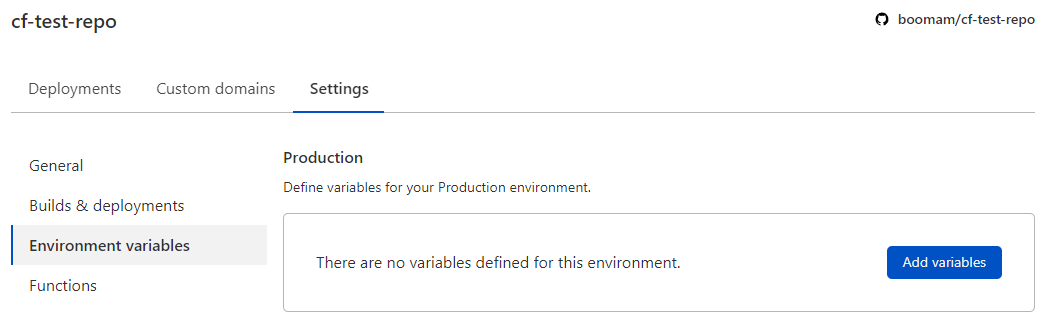
Beginning back at the main dashboard, go to Pages, select your repo, View details, expand Build settings, Settings.

Select Environment variables on the left, then click Add variables under the production section.
Here, we add/specify the node version to use -
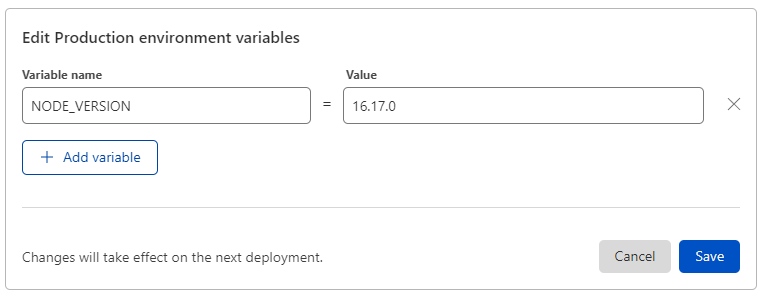
| Variable Name | Value |
| NODE_VERSION | 16.17.0 |
Click Save once done.
Step 4 - Link your domain
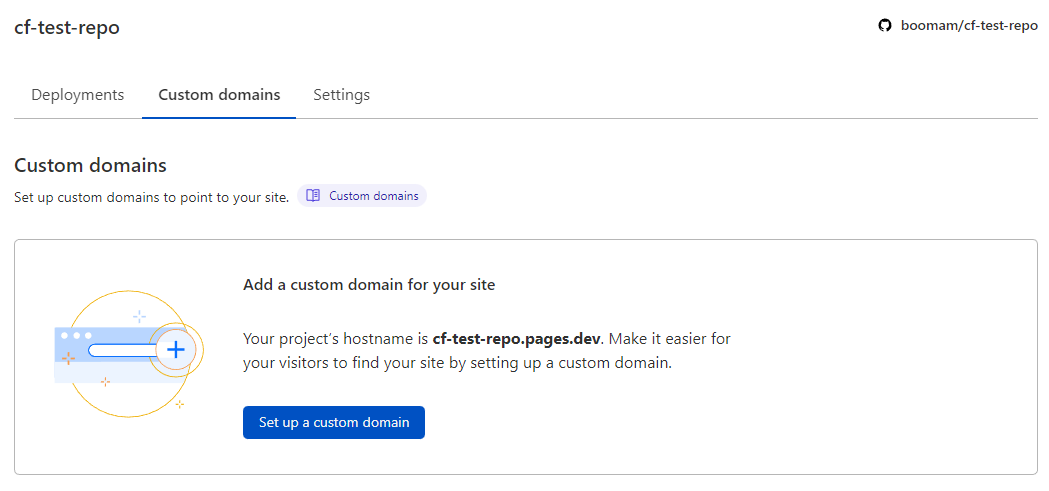
Next, click custom domains at the top, then click Set up a custom domain.
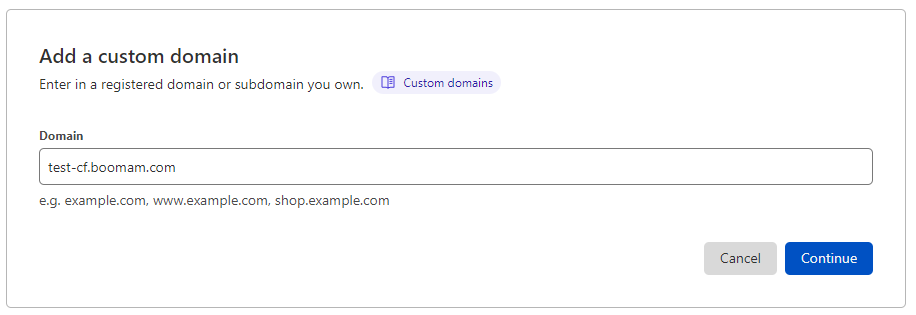
Type in your custom domain/sub-domain name and click Continue.
If you have Cloudflare as your nameservers, you should be able to just click Activate domain, note down the URL though at the bottom.
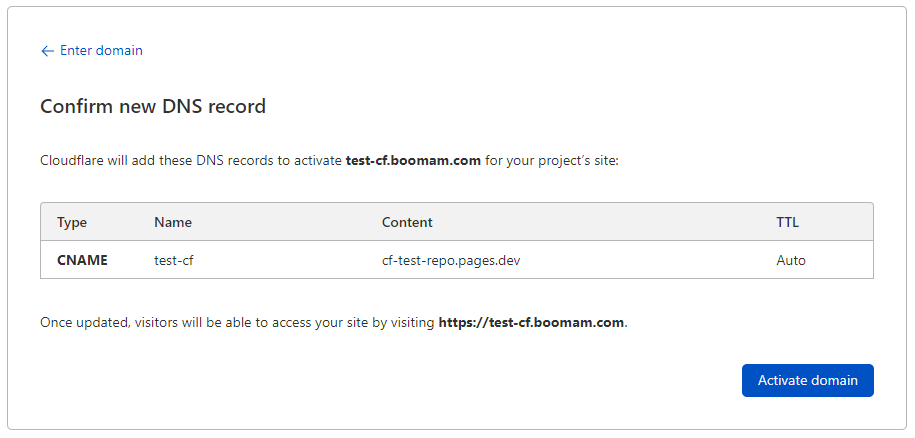
Next, you should see the DNS initialize -
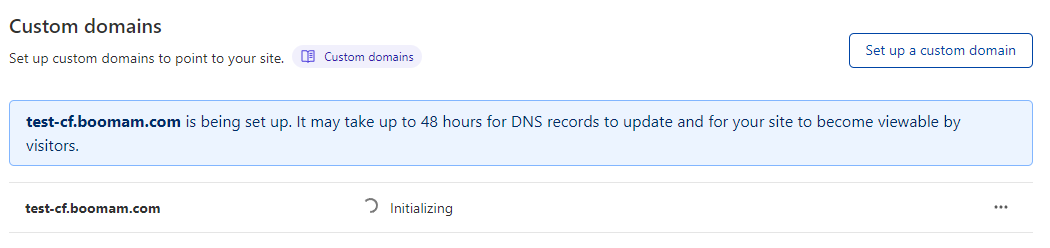
After a few minutes, and maybe a page refresh, you should see the site status as being 'Active', with SSL enabled -

Step 5 - Re-run the deployment.
Go back to your repo details on the pages dashboard, and select Manage deployment, then select Retry deployment in the dropdown.
After a few mins, docusaurus should successfully build & deploy.

Step 6 - Browse to your new site
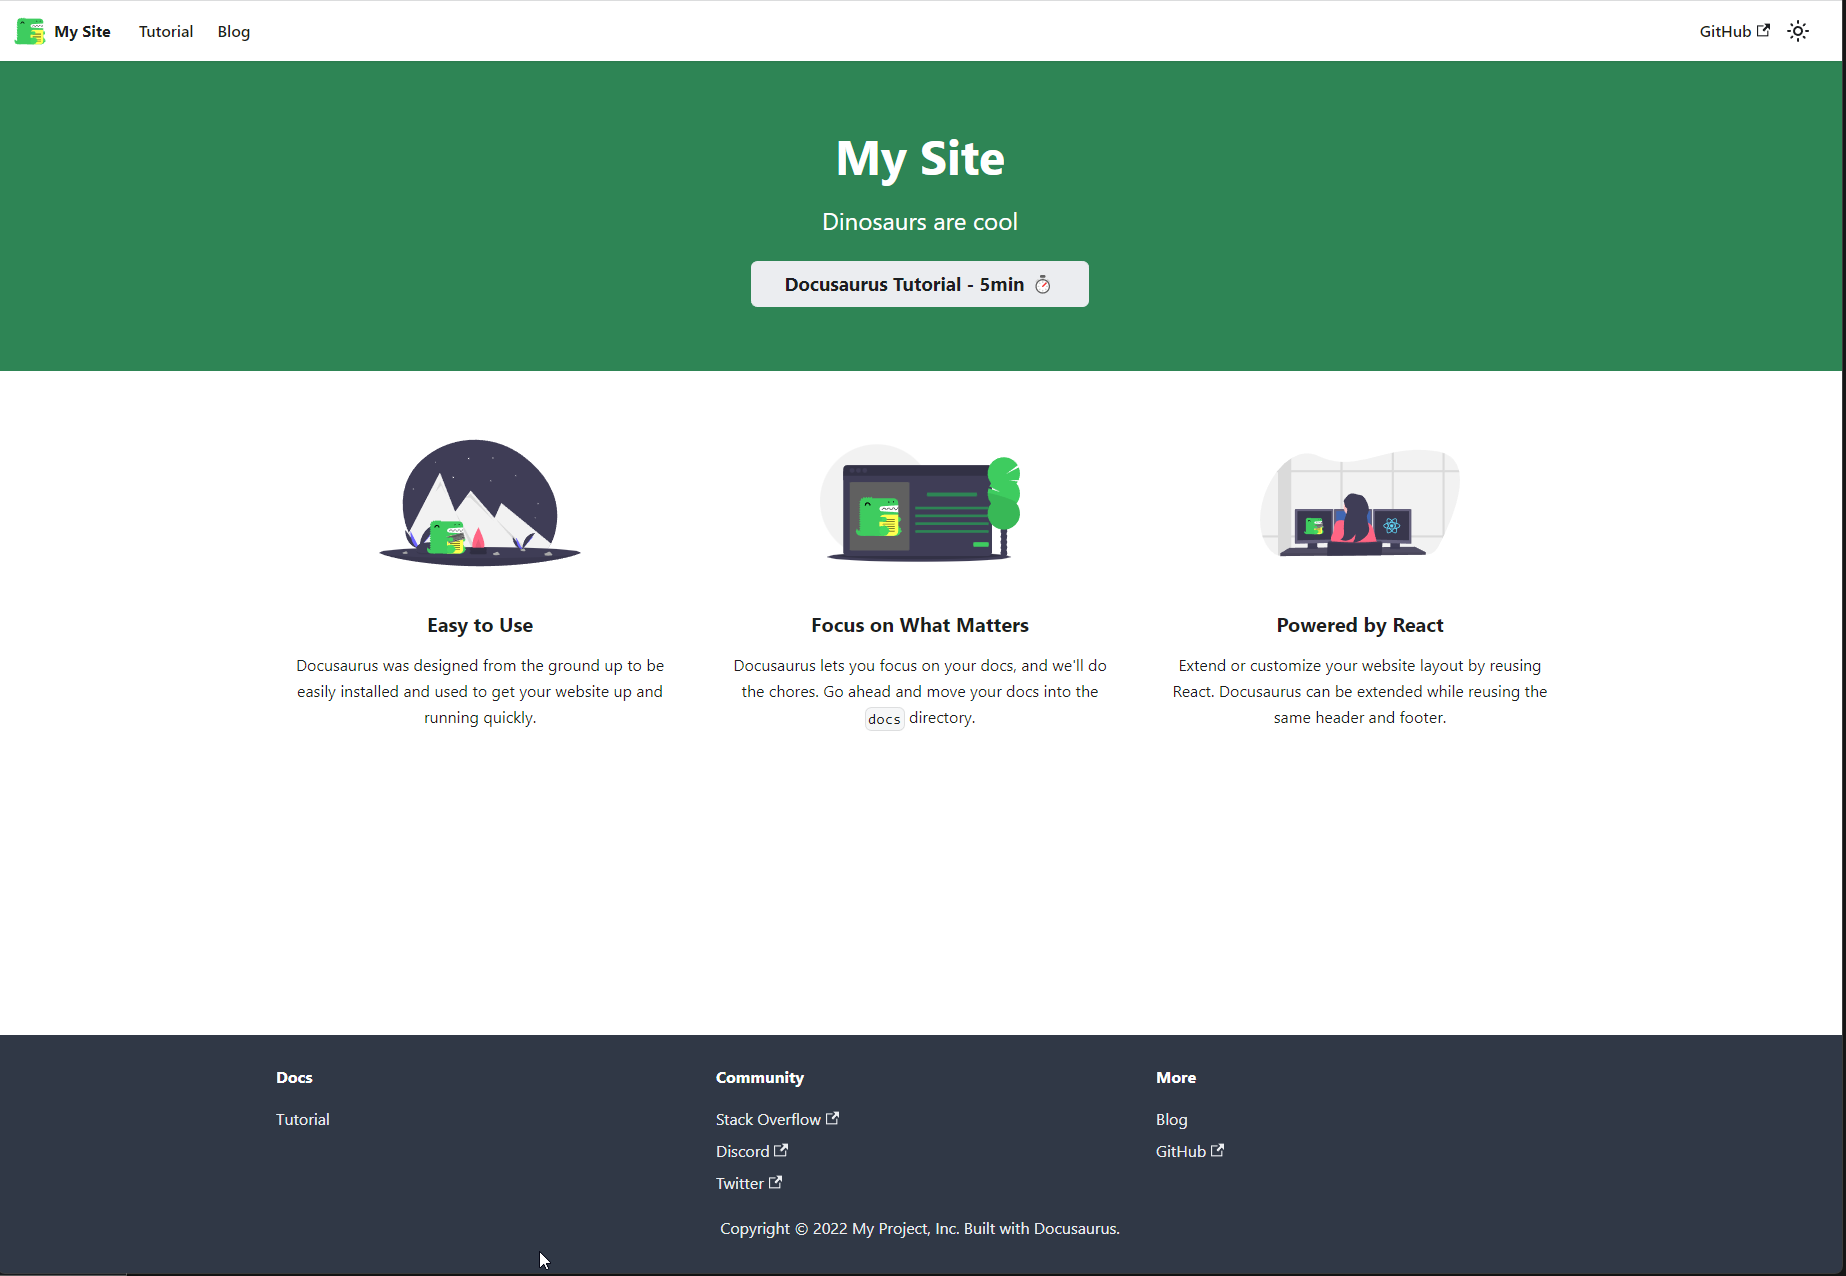
Using the noted URL from the previous steps, you should now be able to access your site.
Updating the site
Going forward, whenever you commit to the main branch in your repo (unless you changed it in the build settings), Cloudflare Pages will rebuild and deploy the site.
Cloudflare Pages (free) is limited to 500 builds per month.
I'd recommend building and updating the site locally with npm, pushing to your repo when you are happy with the changes.
This will save you from needless builds.
Next steps
Now you have a working site, you can add the additional Cloudflare (free) features for both security and visibility.
You can access these from the Settings->General page for your site.
I'd recommend enabling 'Web Analytics' after the site has gone live, and enabling 'Access Policy' prior too. This will keep the site private until you are ready, and give you more accurate initial analytics.