Nginx Proxy Manager: Basic Setup
Why NPM?
NPM is a great web proxy manager, that makes hosting multiple sites and services with a SSL simple.
And when dealing with 'home IT', simple is king.
Its important to note, that the below is a very basic, super-simple NPM setup.
It is neither intended to be the be-all-and-end-all of NPM configurations, nor the most scalable or secure.
This article is designed to get people off the ground with NPM.
Other articles in future will go more in-depth on advanced topics.
Pre-Requisites
You are running Unraid as your host OS.
You have a domain name setup (perhaps via a Dynamic DNS service) with one or several sub-domains.
You have access to your home router, and the ability to set port forwards on 443/TCP to an IP on your internal network, to 18443/TCP.
Setting up the Nginx Proxy Manager Container
Go to the community applications menu in Unraid (Apps).

In the search box on the right, type in "nginxproxymanager", and select the one listed as using the 'Djoss' repository.
Click the download icon (bottom left)

You will be taken the the container setup screen.
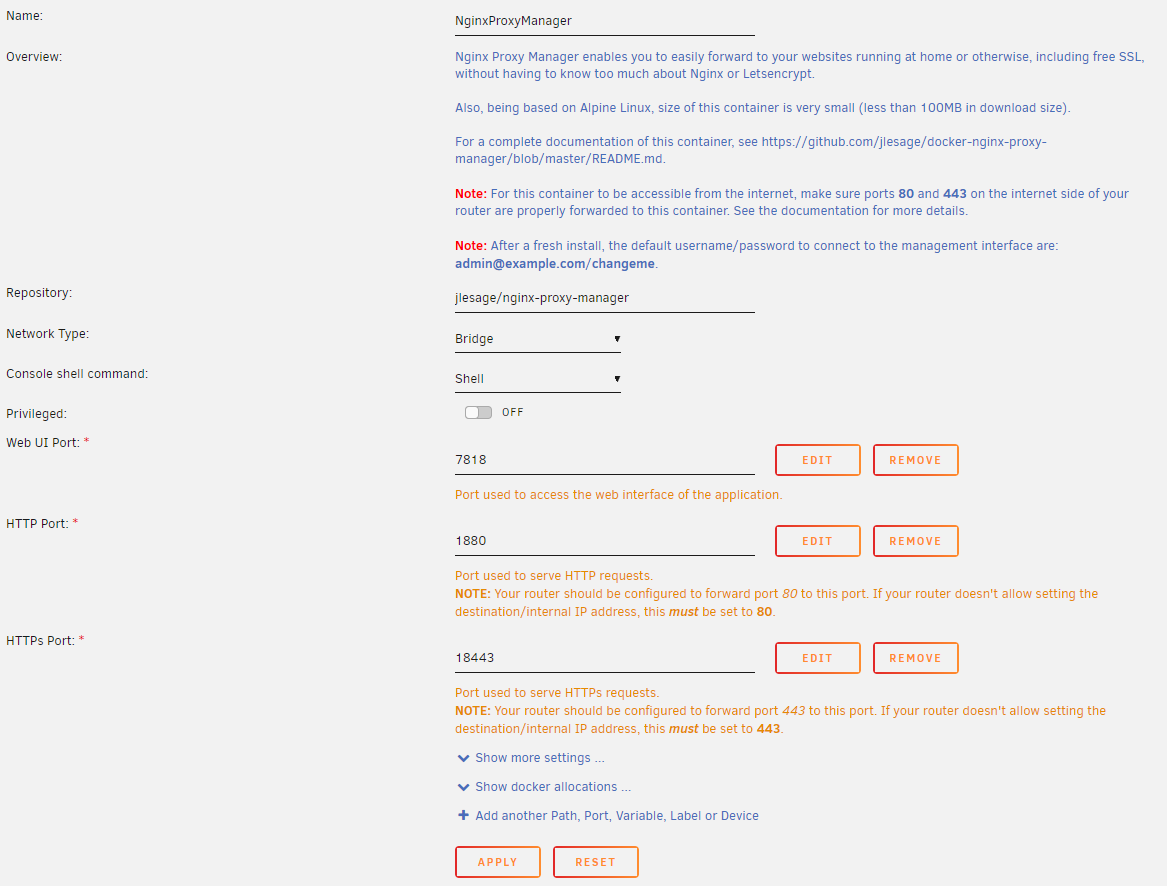
Here, you will enter details that will go into the docker template, where it will set some base options for Nginx Proxy Manager (NPM).
Unlike the other two options, all of of these are left at default.
Click 'DONE' at the bottom and the container image will download and setup based on your variables above.
Configuring Nginx Proxy Manager
We now need to configure NPM, and set it up to access your sites.
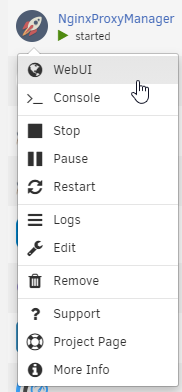
Go to the docker tab, find the NPM container, click its icon, and click 'WebUI'.
Assuming everything has gone correctly, you should be presented with a login screen.
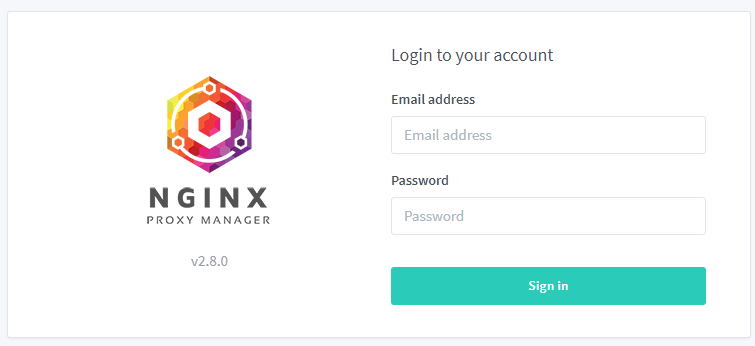
Enter the default login -
Email: [email protected]
Password: changeme
Immediately after logging in , you will be asked to modify your details and change your password.
Setting up your websites & Services
Note: You will need to repeat this section for each of your internal services.
Click on 'Proxy Hosts' on the left, then on the top right, click 'Add Proxy Host'

On the screen that appears, we need to fill out details in 2x specific tabs, Details & SSL.
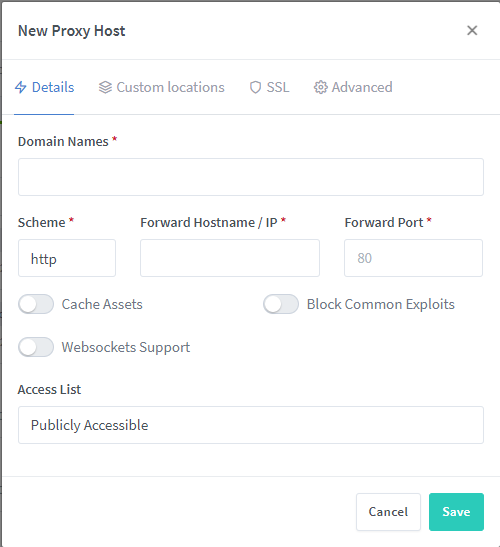 |  |
Details
| Domain Names | Enter the sub-domain you have pointed at your home network |
| Scheme | http |
| Forward Hostname/IP | IP Address of your site/service |
| Forward Port | Port used for your site/service |
| Block Common Exploits | Enable |
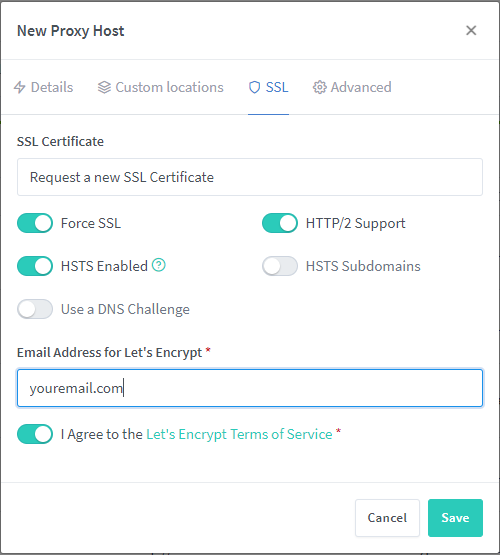
SSL
| SSL Certificate | Request a new certificate |
| Force SSL | Enabled |
| HTTP/2 Support | Enabled |
| HSTS Enabled | Enabled |
| HSTS Subdomains | Disabled |
Then press 'save' and accept the LetsEncrypt notice/warning.
Configure your router/firewall
For obvious reasons, I can't document this for you, but you need to setup a port forward from 443/TCP to 18443/TCP, pointing at the IP address you gave NPM during the setup of its container.
Congratulations, you now have a working NPM install!